*Please note that there are different country versions of this press release available BG | CZ | DE | DK | EE | EN | ES | FI | FR | HU | IT | LT | LV | NL | PL | RO | SE
Find them in the media set to download.
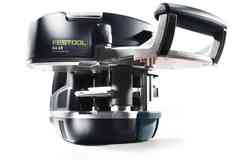
With the unique hand-held edge sander from Festool, ideal sanding results are possible on any edge. How does the sander work? Which settings are available? What do I need to know about the angle adjustment? Is there protection for delicate surfaces? How can I fit my edge sander onto an existing sander?
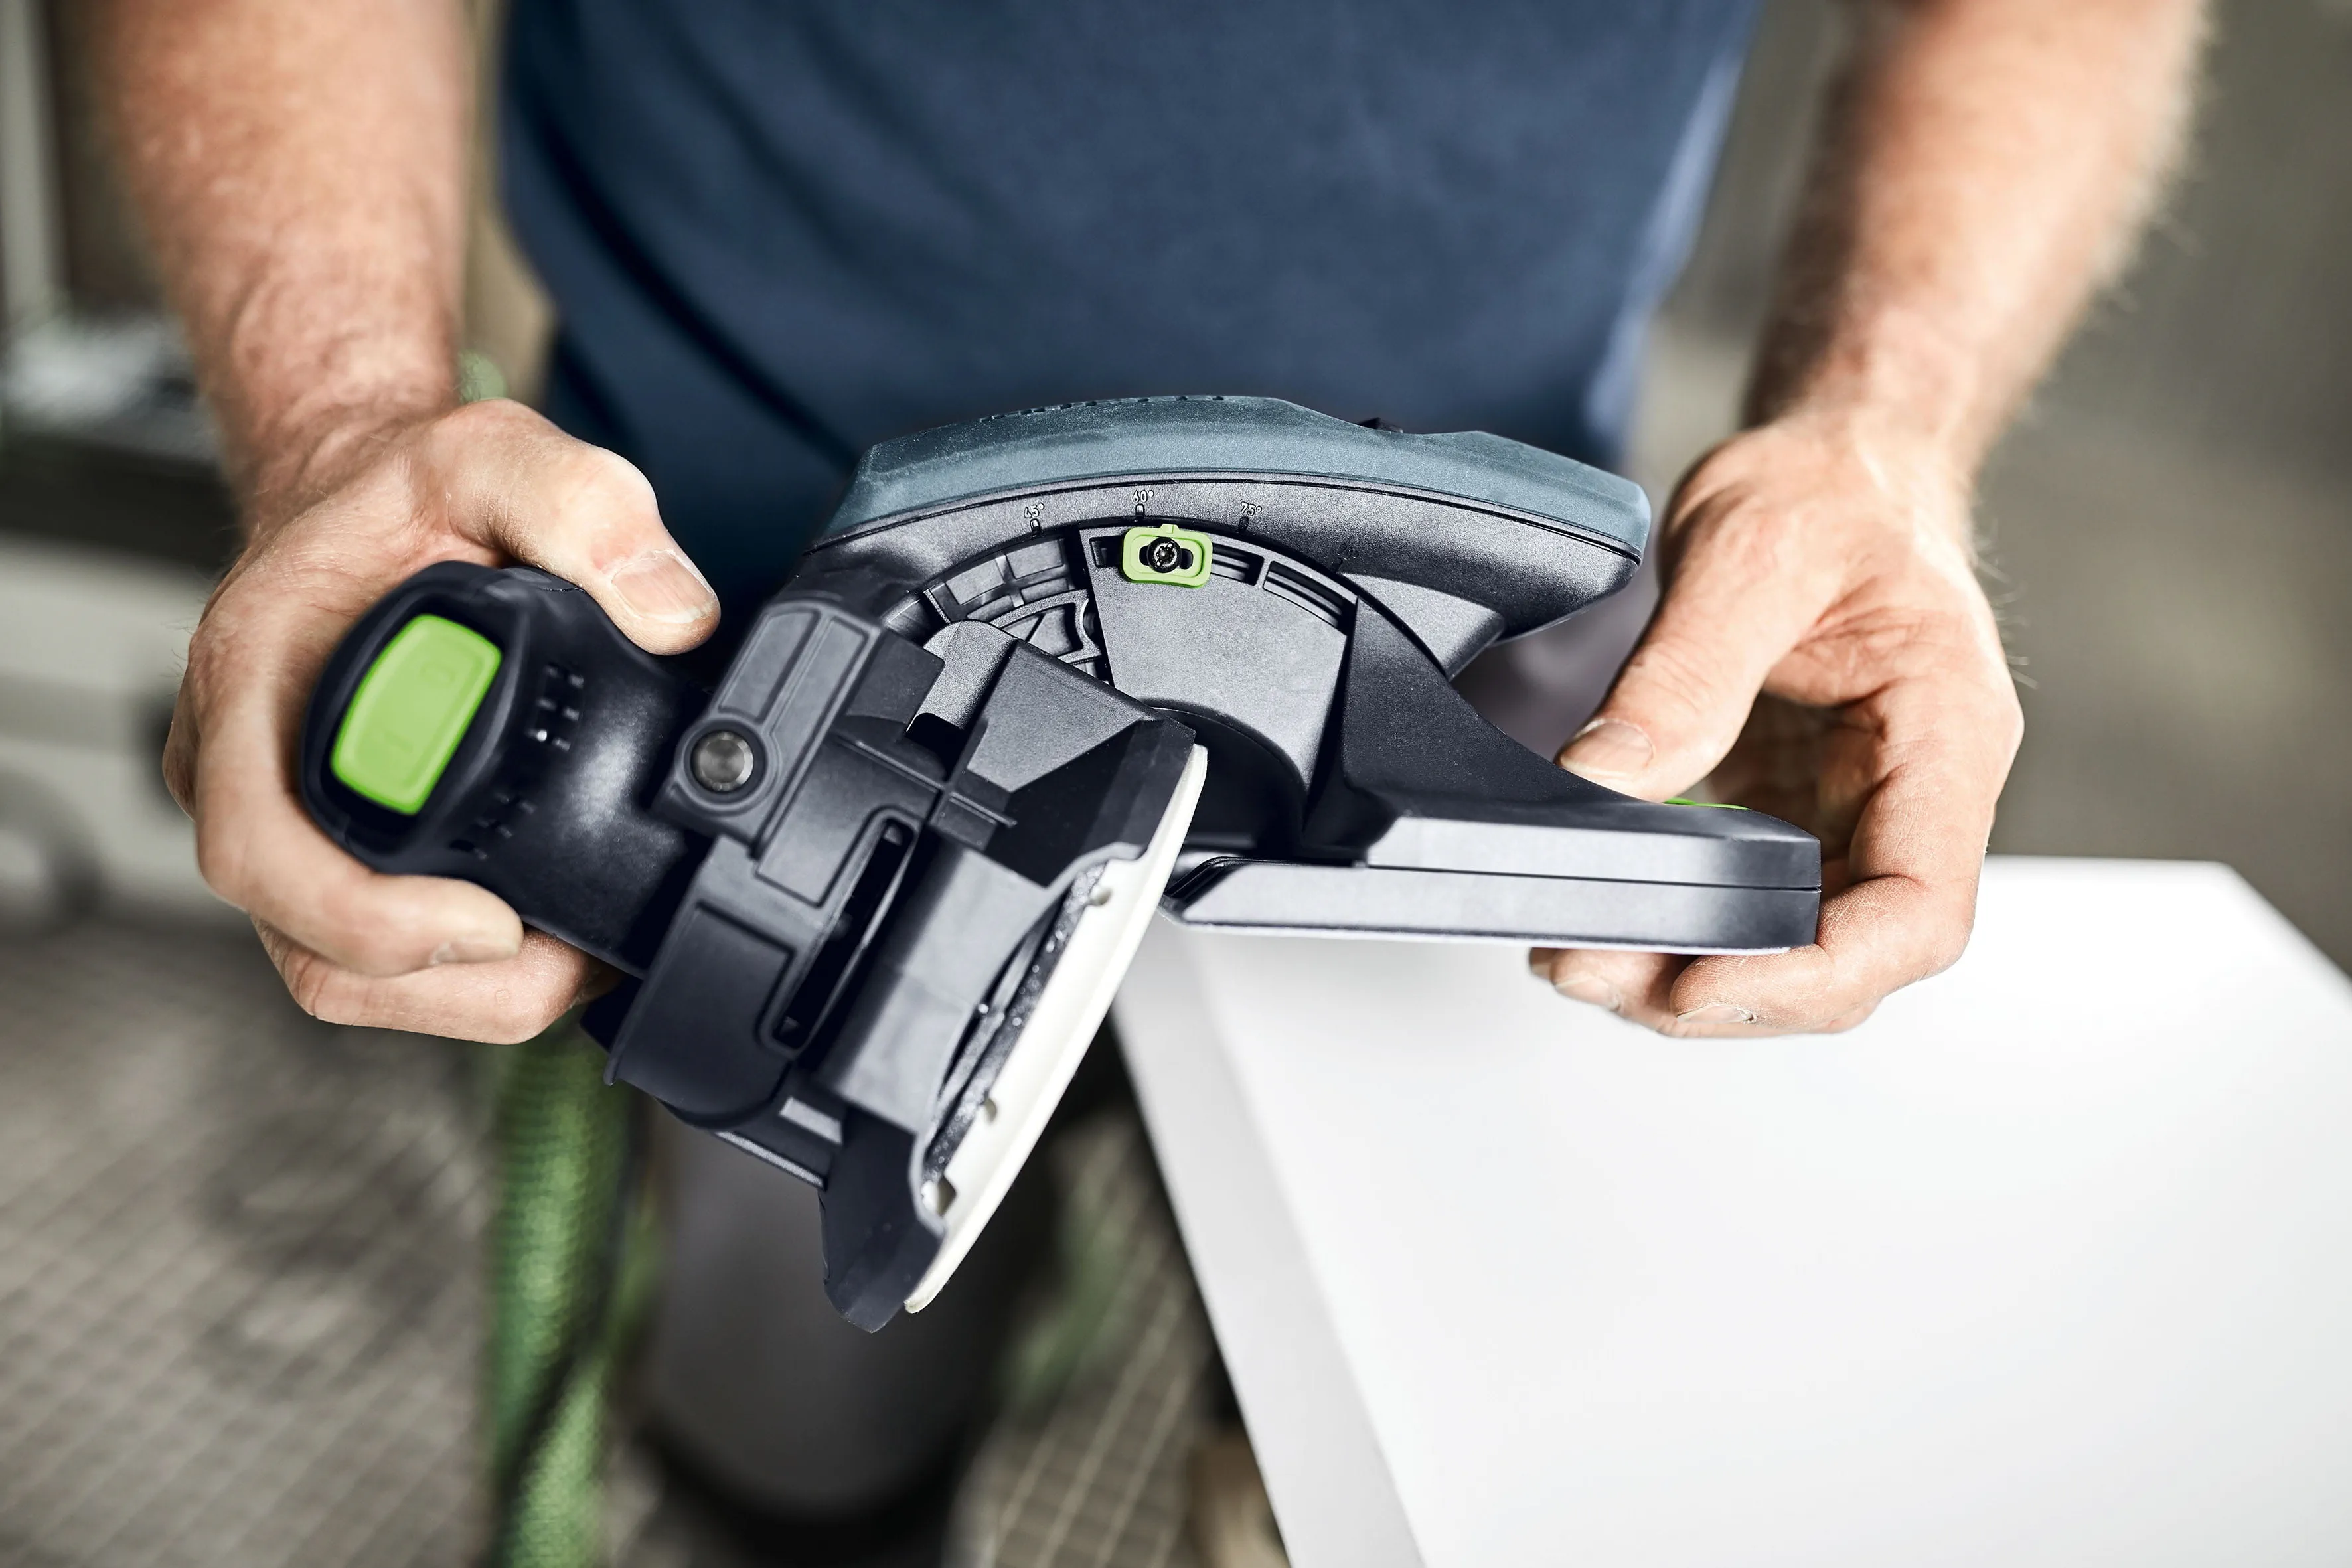
The edge sander is perfect for sanding solid wood, as well as for intermediate sanding of paint and filler – for all edge finishing work and for trimming edges of any material and with any coating. It doesn't matter what the edge looks like, whether straight or curved, untreated or painted, perpendicular or at an angle (from 43° to 92°), whether the workpiece is small, large or bulky, narrow or wide (from 5 to 60 mm) – the edge sander always delivers perfect sanding results. The ES-ETSC 125 cordless compact sander in combination with the positioning aid ensures optimal mobility whilst sanding edges.
How-to: Soft and Hard mode – what are these modes for and how can they be set?
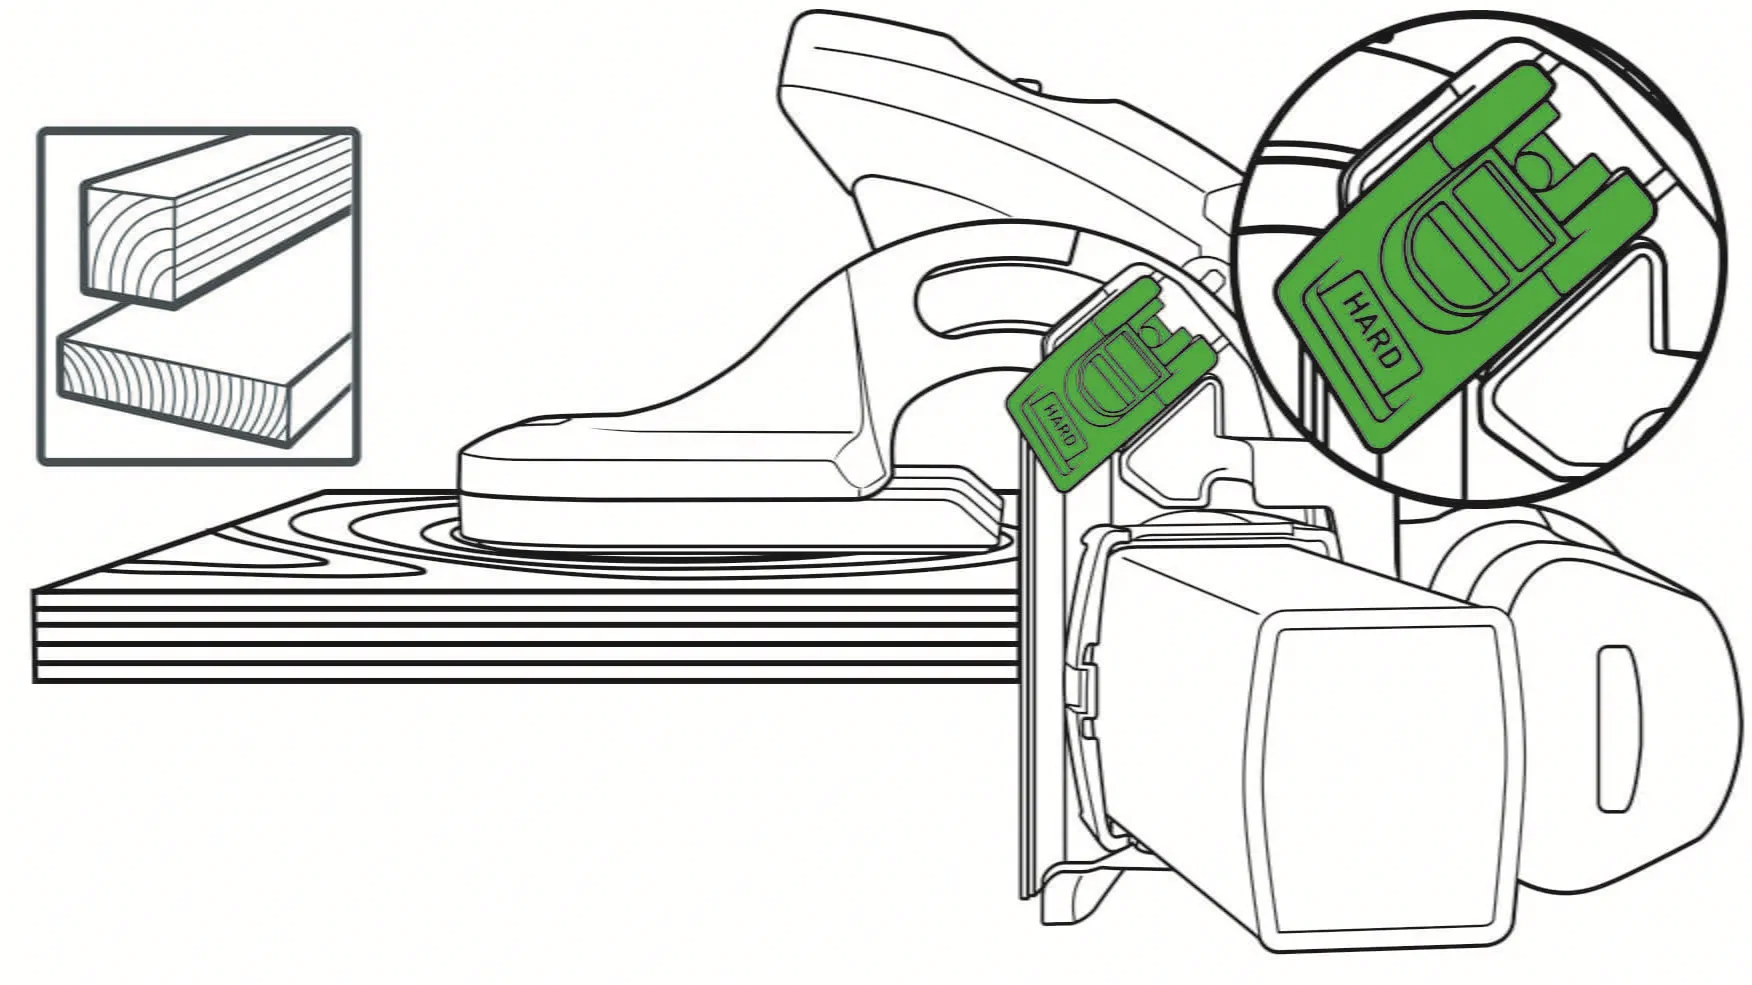
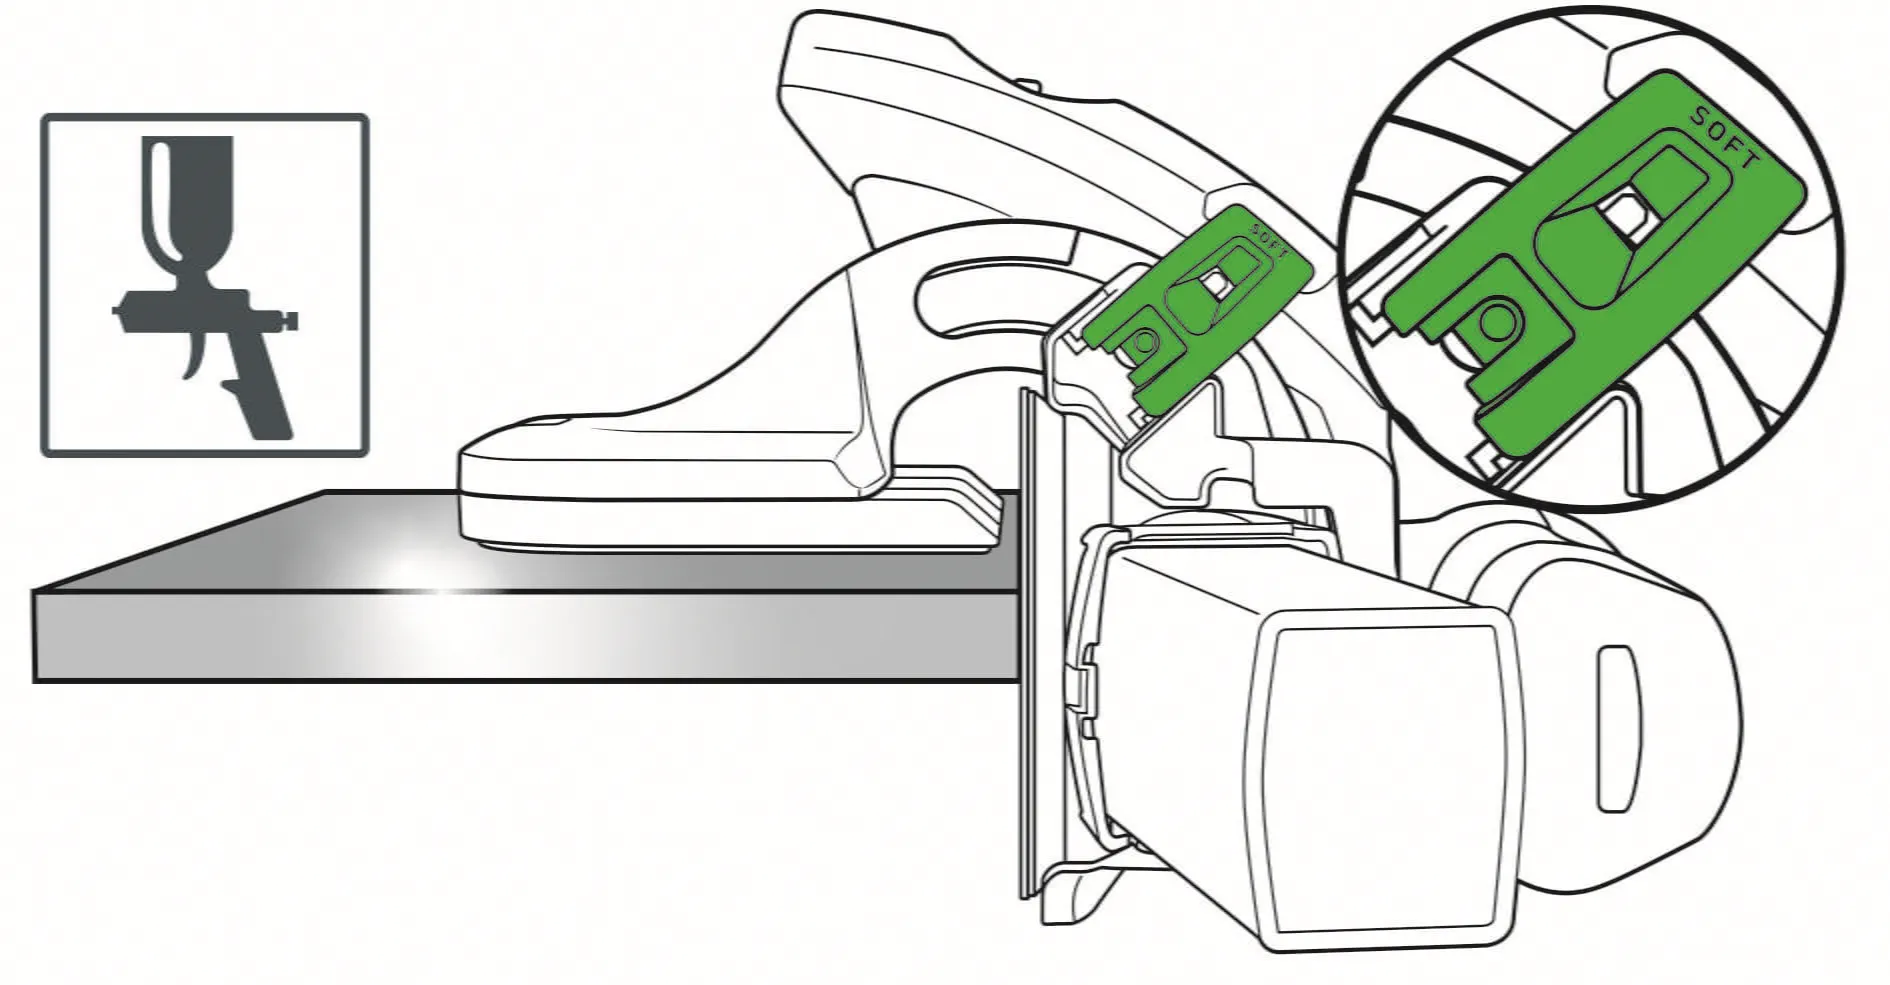
The edge sander offers two different sanding settings: In Hard mode – the setting for pre-sanding – the edge is sanded according to the set angle. In Soft mode – the setting for intermediate sanding – the edge sander adapts perfectly to the surface to be sanded. This has the advantage that neither paint nor filler is sanded through. When sanding with a hand-held sander and a soft sanding pad, the edges can often become "rounded off".
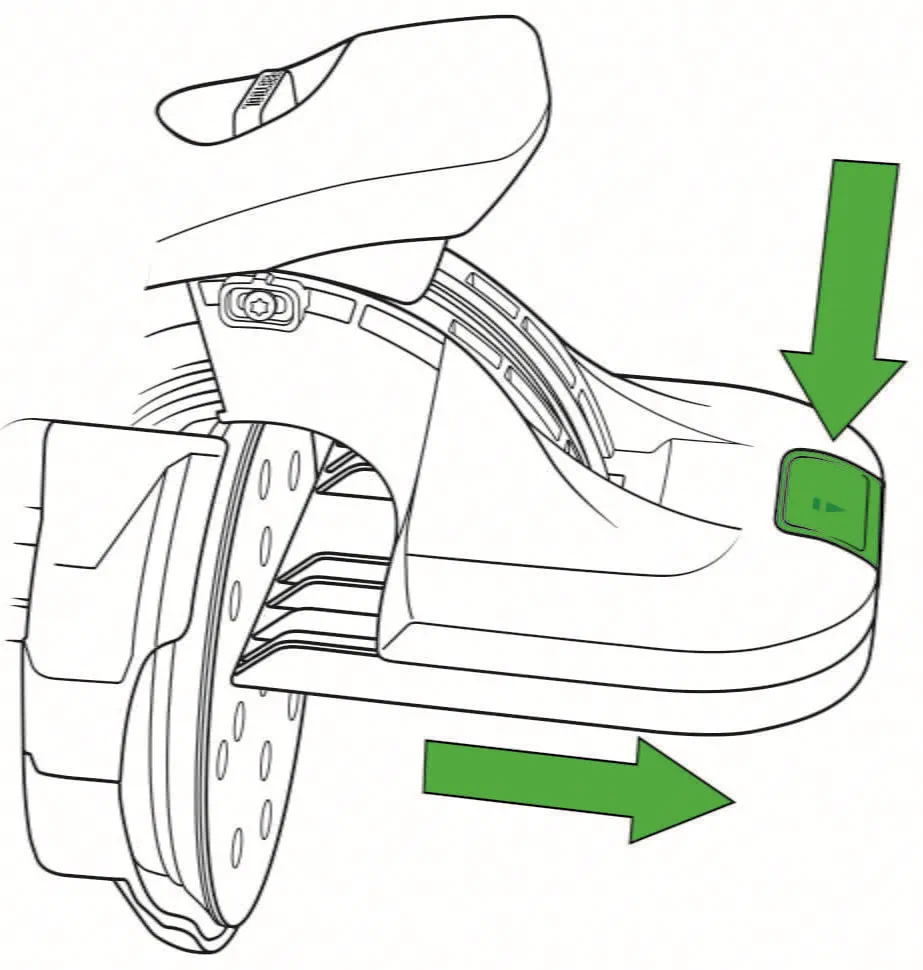
How-to: Slideway linings – which linings are available and how can the linings be replaced?
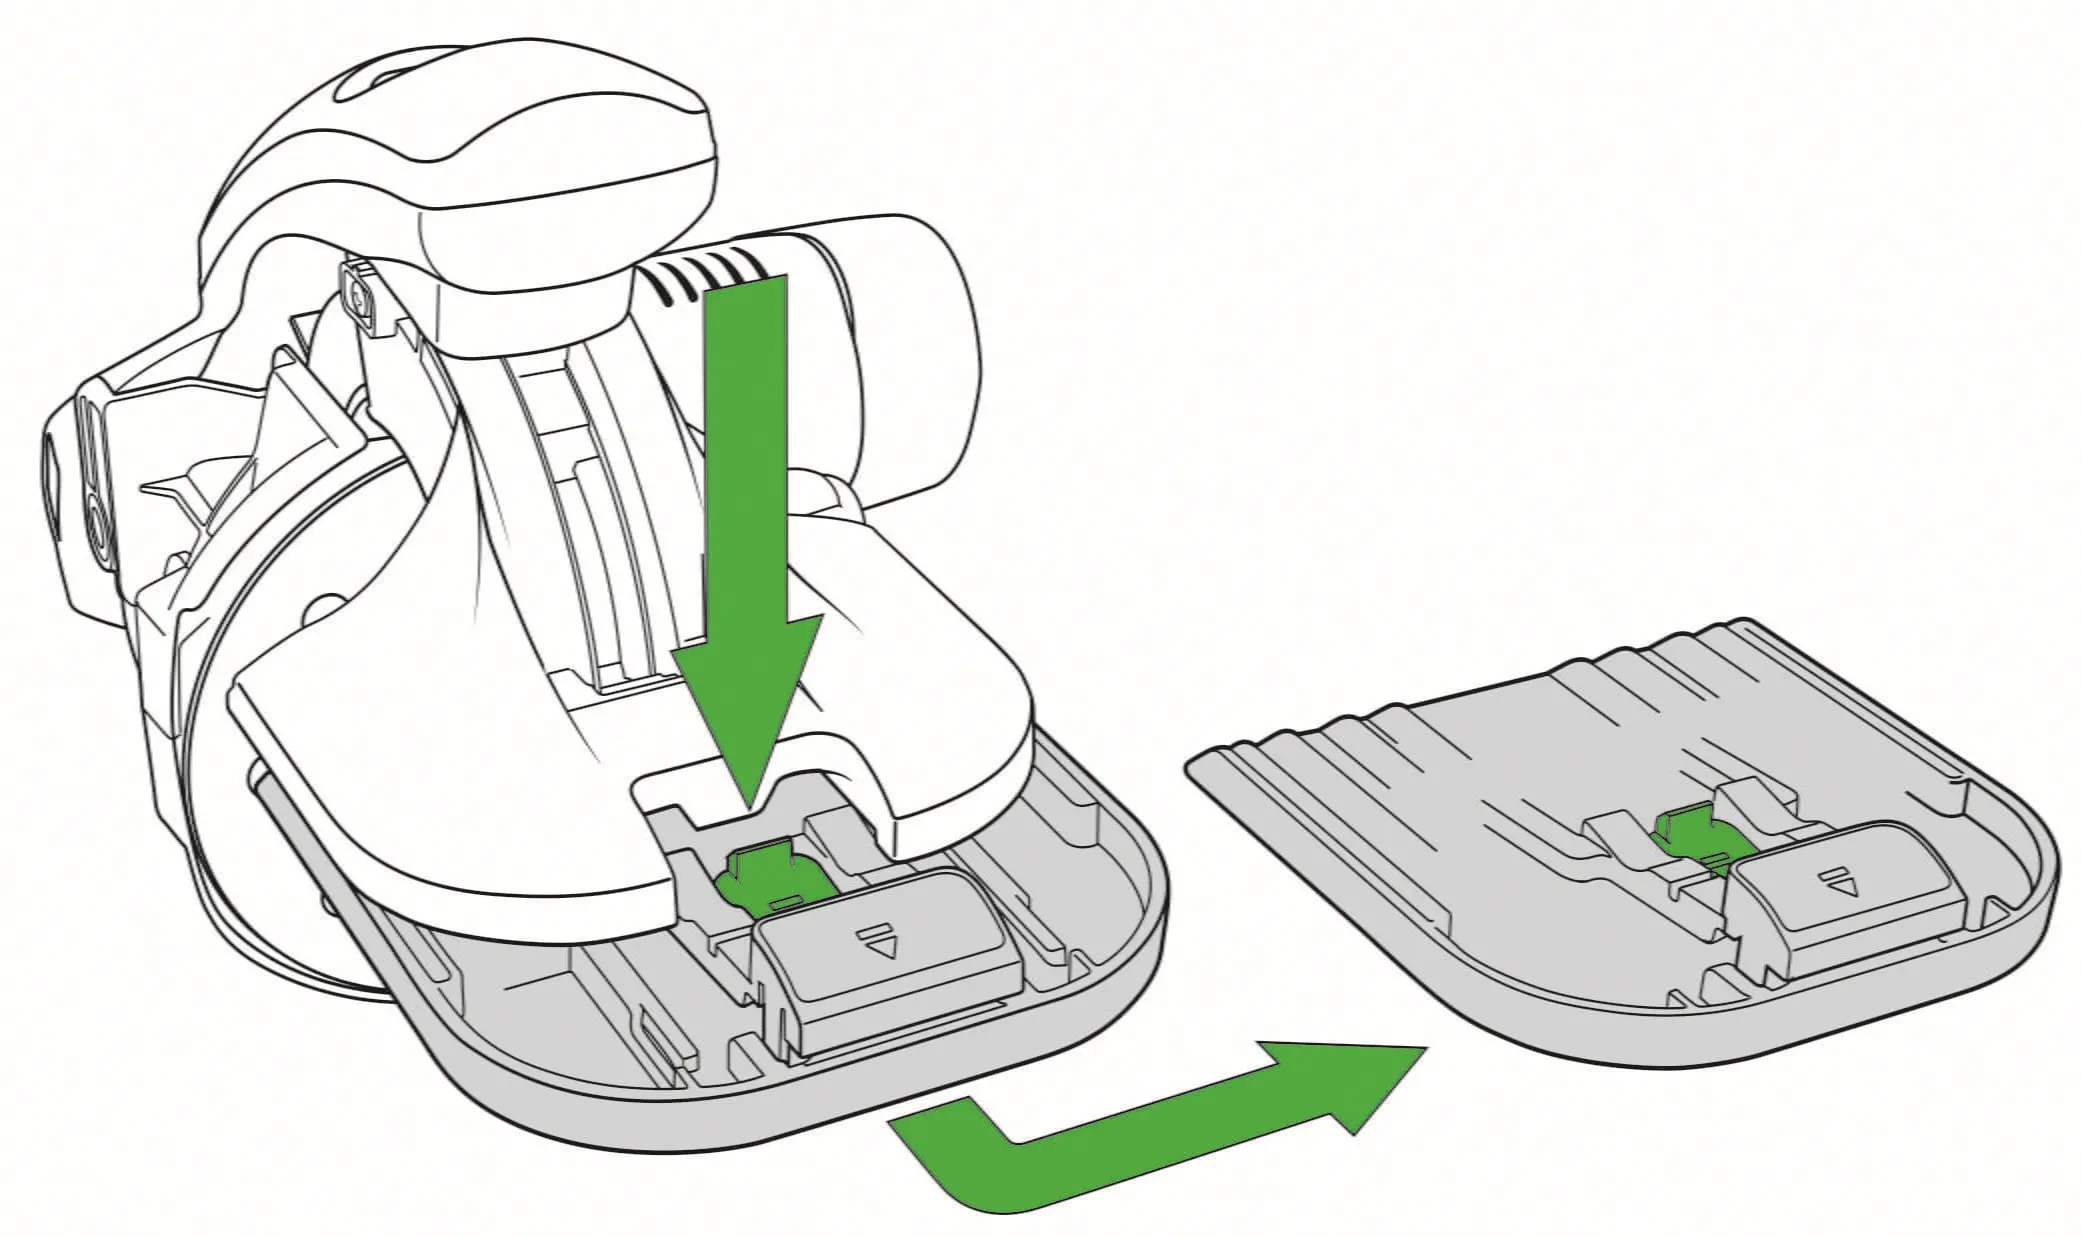
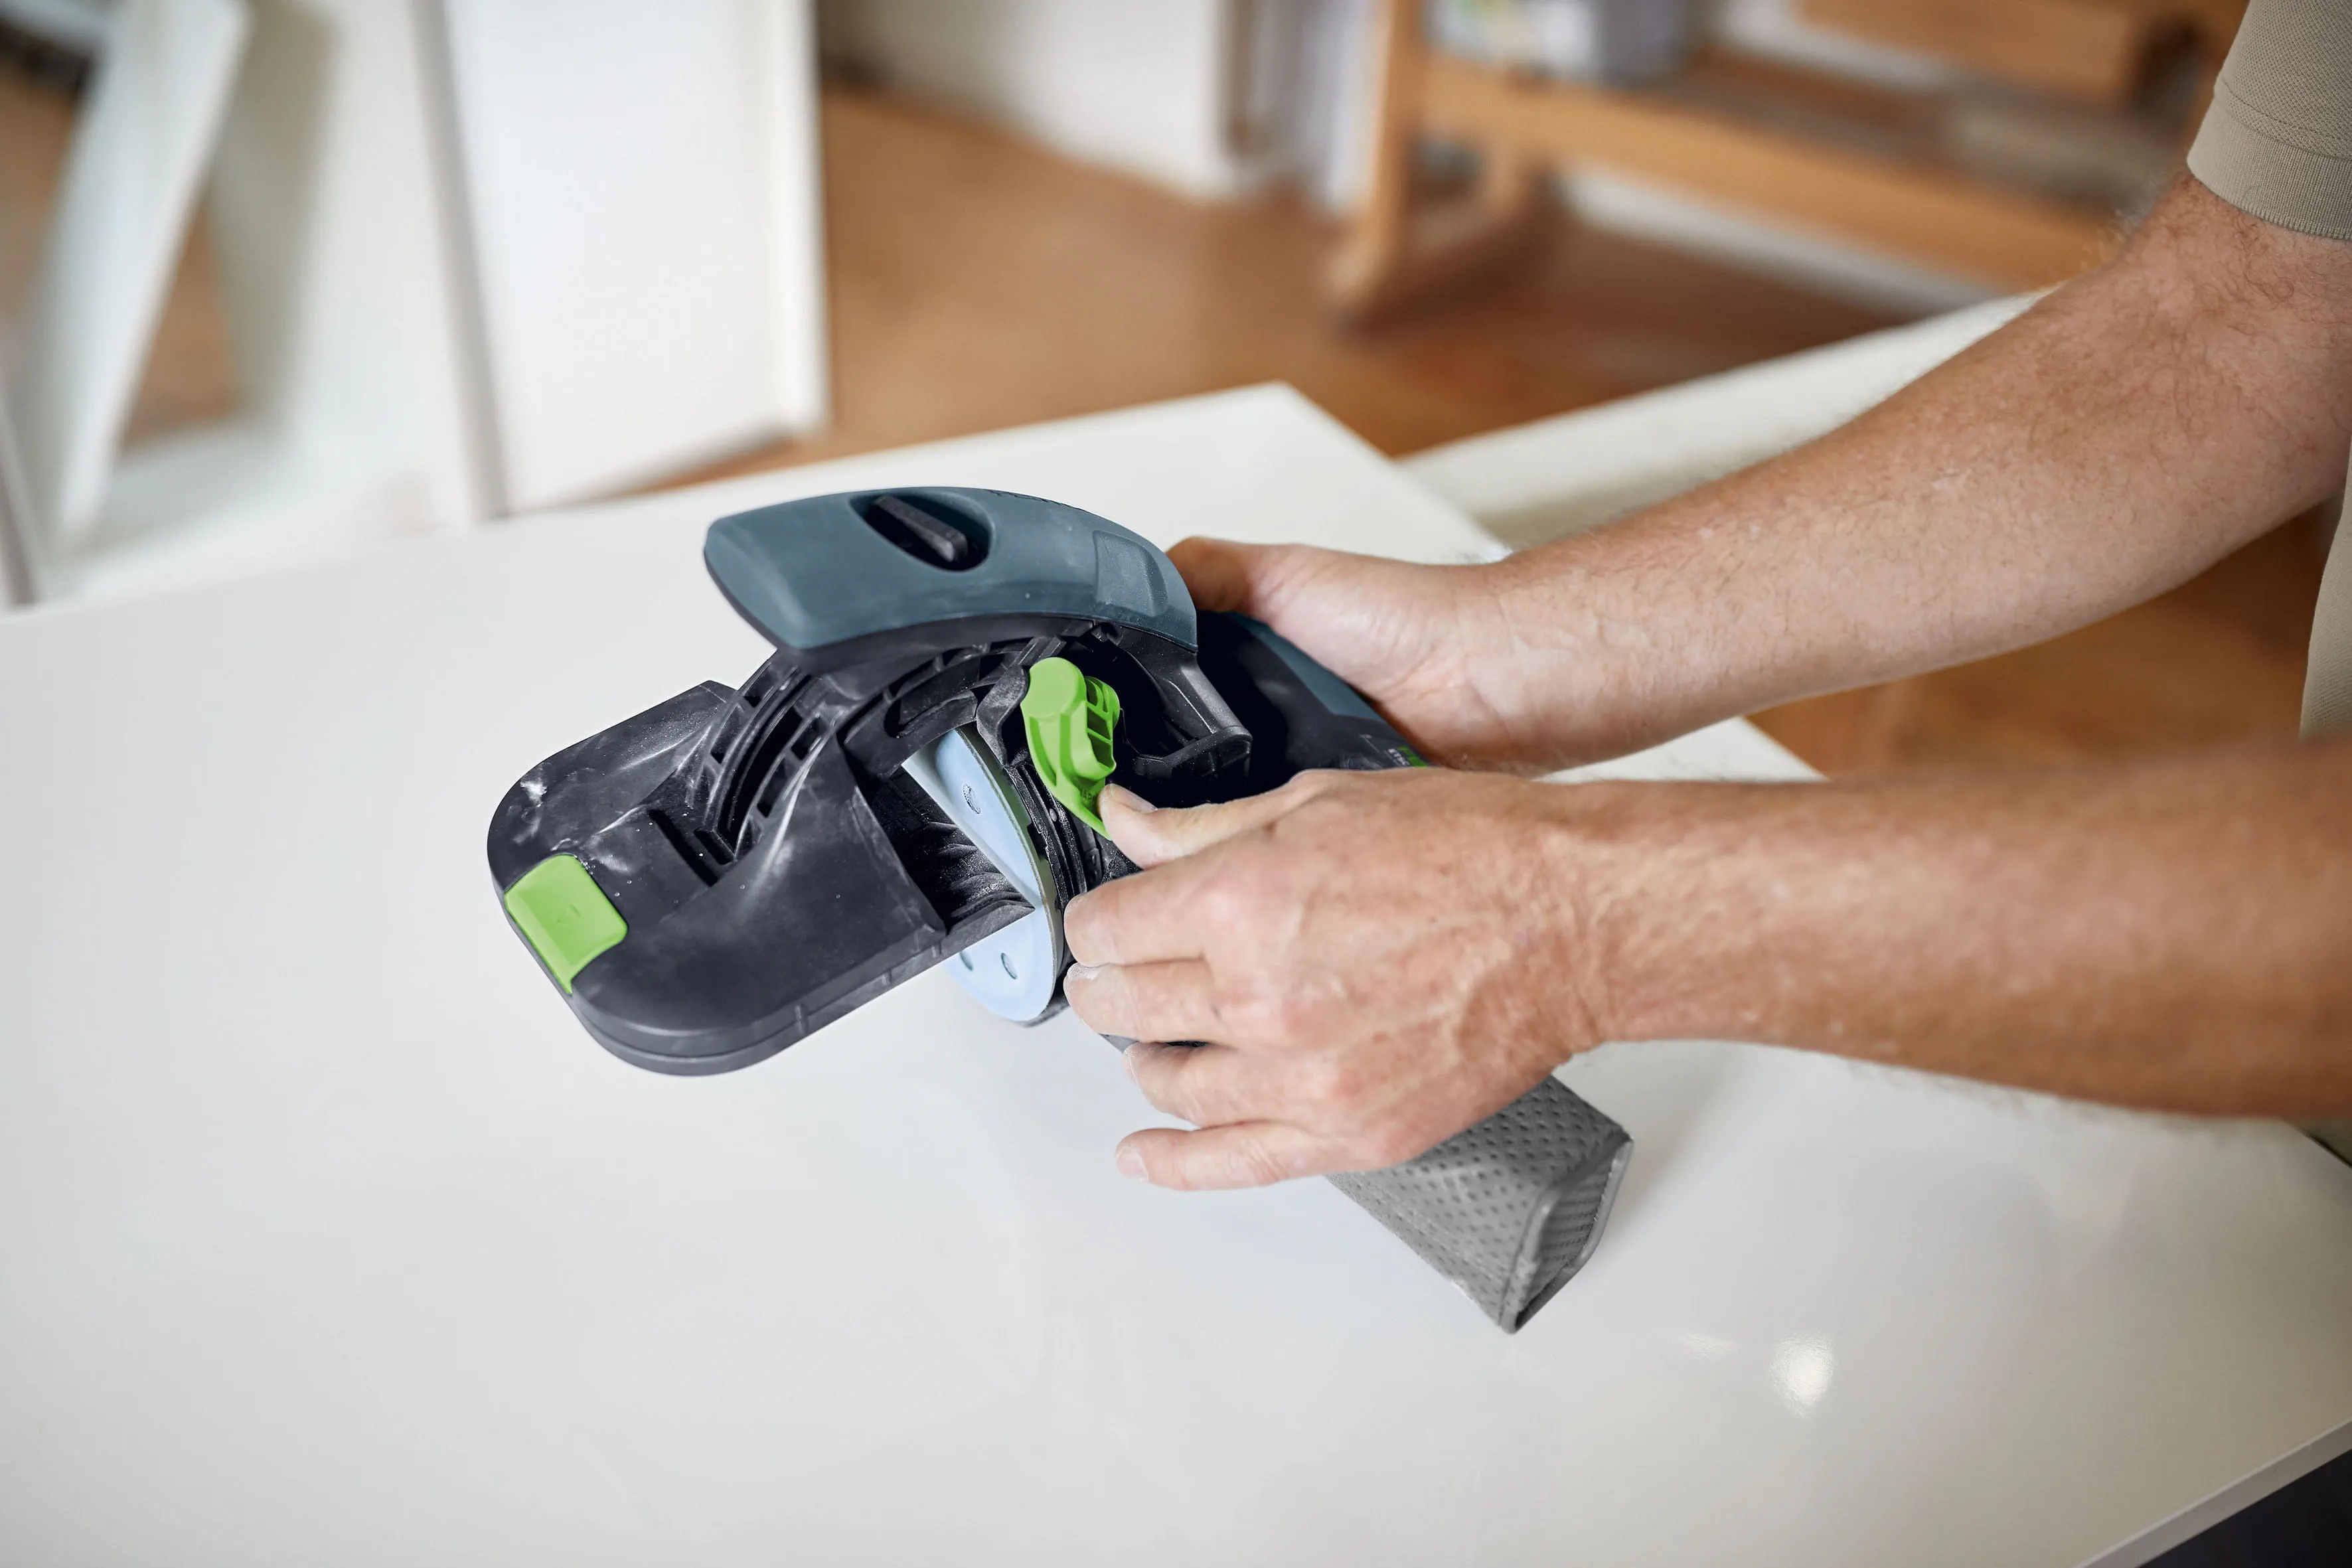
The crossheaded guide can be replaced quickly and easily depending on the surface: Velour linings for delicate surfaces, plastic lining for all other surfaces. Even painted workpieces can be sanded reliably and conveniently – as well as perfectly and reproducibly. Replacing the crossheaded guide/base runner is simple: Release the green functional element and blue arrow on the crossheaded guide, remove the crossheaded guide and fit a new one. Both crossheaded guides are always included in the scope of delivery: LAS-H-ES base runner for solid wood and LAS-W-ES base runner for painted surfaces with hook-and-loop lining for attaching a velour slideway lining for sanding smooth or delicate workpieces.
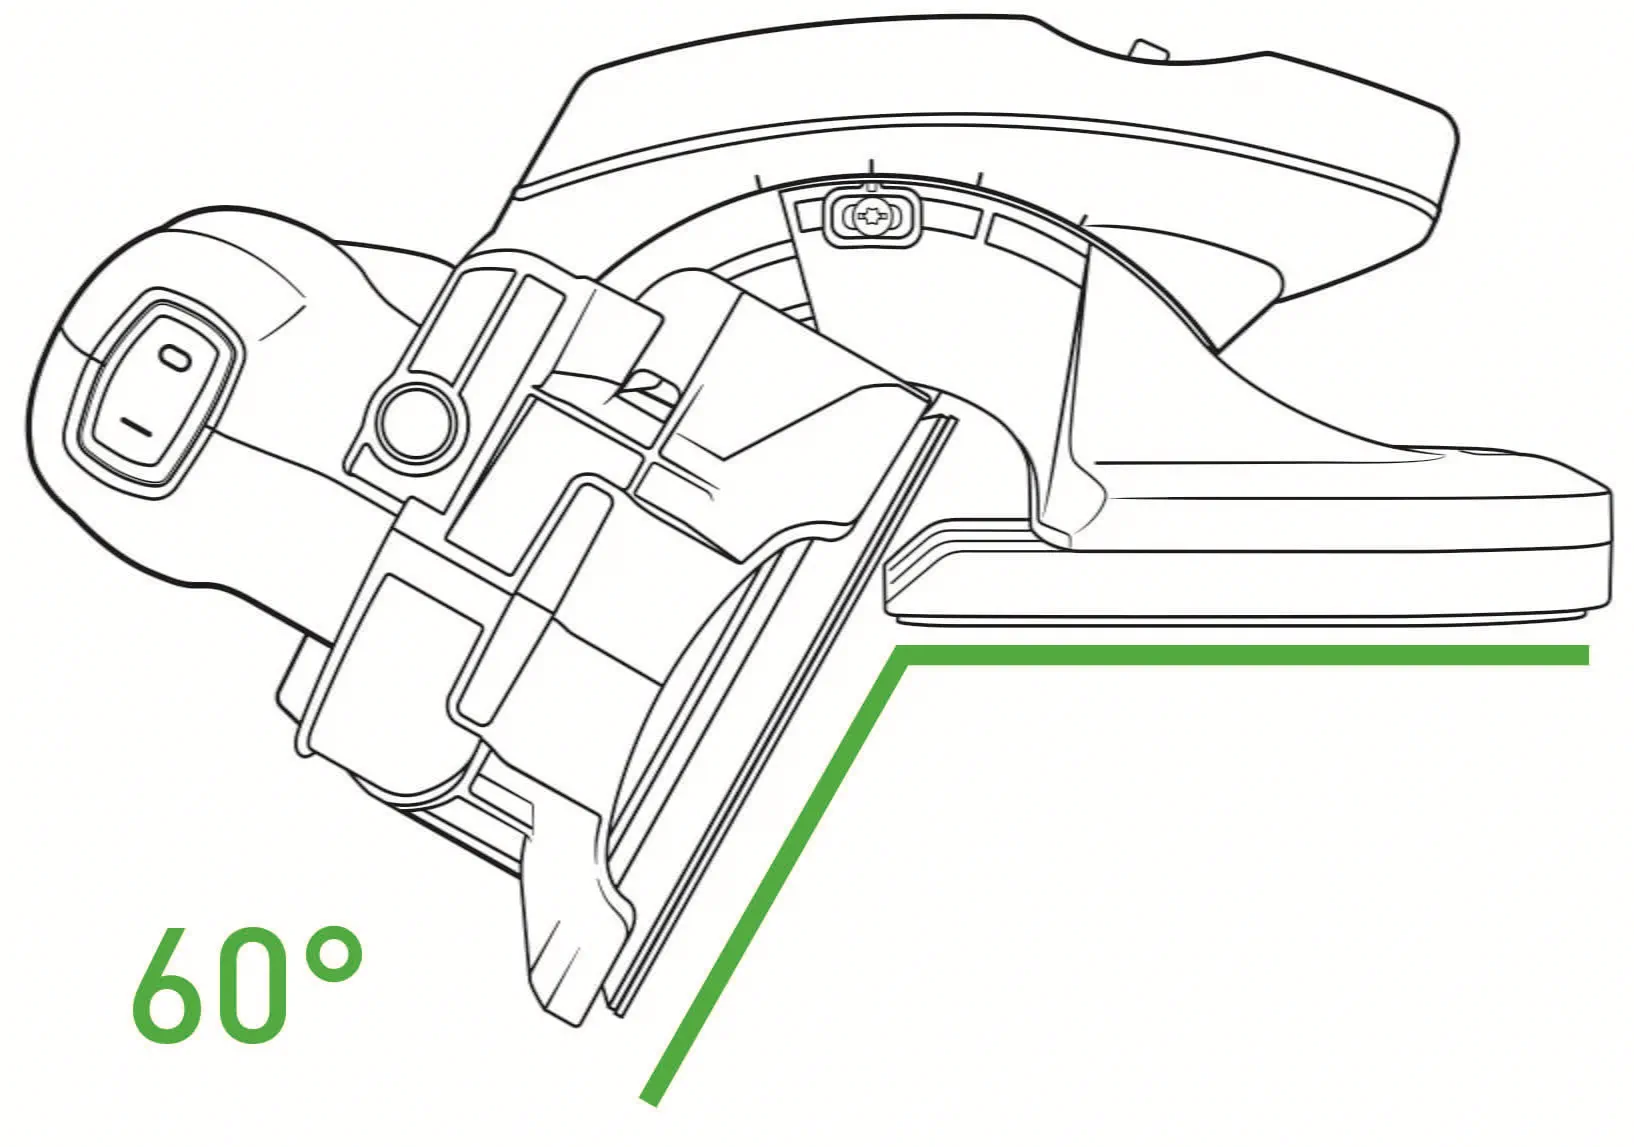
How-to: What is angle adjustment for and how can it be calibrated?
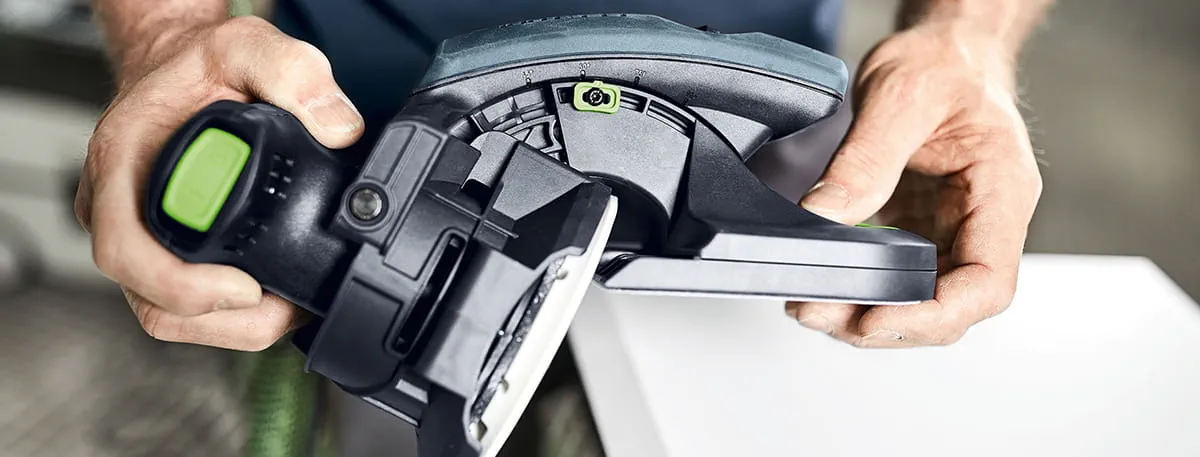
The angle adjustment makes the edge sander versatile; this feature enables even free angles to be copied and locked without tools. For the highest degree of precision, there is an adjustable angle display. This allows you to sand angles ranging from 43° to 92° – whether the workpiece is small, large or bulky, narrow or wide (from 5 to 60 mm). With the set version – consisting of an ETS 125 eccentric sander or the ETSC 125 cordless compact sander and the AH-ES-ETS/ETSC positioning aid – the angle display has already been set. If you subsequently fit your ETS 125 eccentric sander or ETSC 125 cordless compact sander with the AH-ES-ETS/ETSC positioning aid, the angle display must be calibrated after it is first fitted onto the sander. To do this, the sander must be set to Hard mode and the angle lock rotary knob must be loosened. You can then also set the angle to 90° using a measuring tool. Once the sander has been set to 90° as shown by the measuring tool, move the angle display until the display points to the 90° marking.
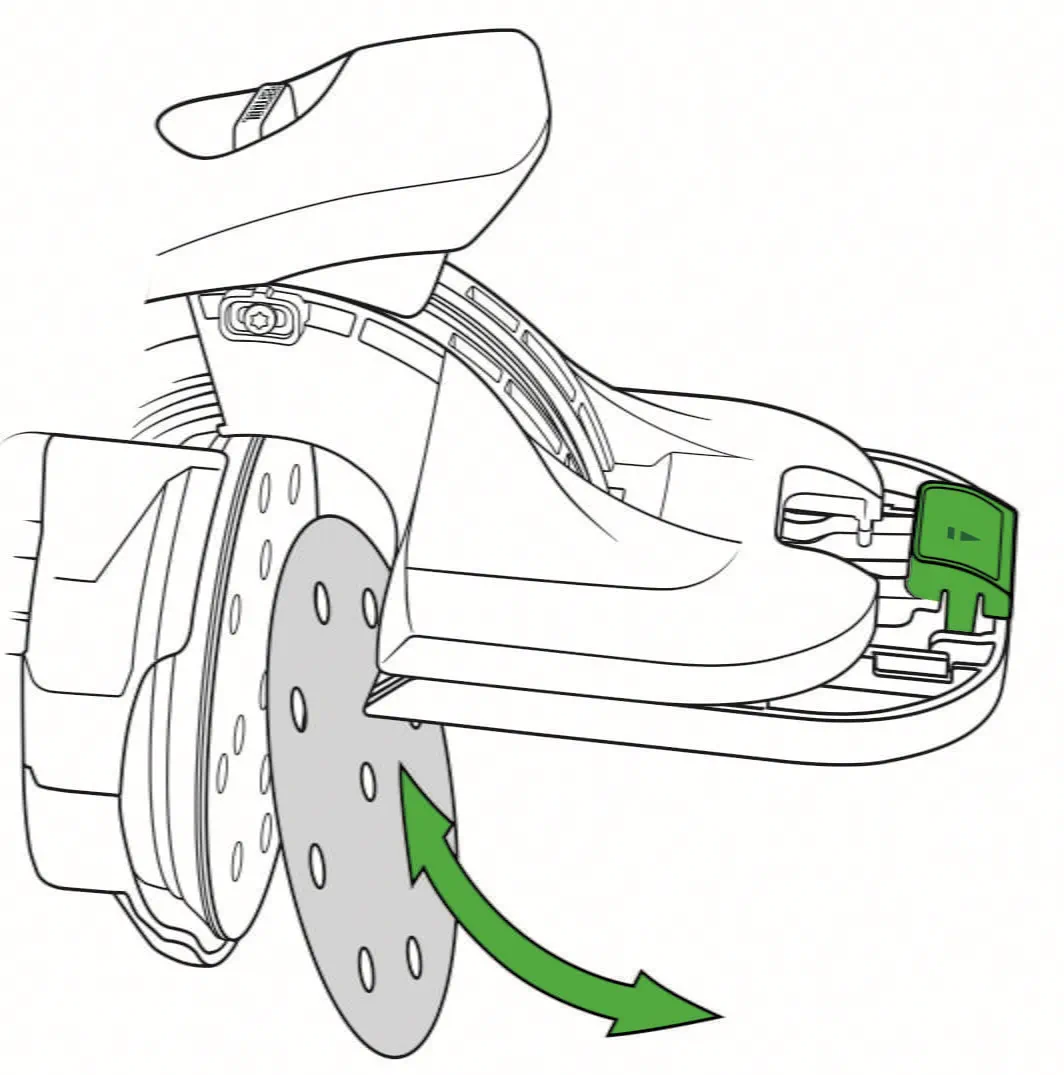
How-to: Changing abrasives
Abrasive wheels can be replaced easily, by pressing the green functional element on the base runner and pulling the base runner outwards. The abrasive can then be easily replaced.
How-to: Fitting the positioning aid to an existing sander
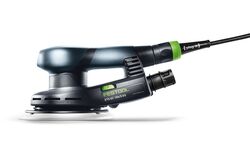
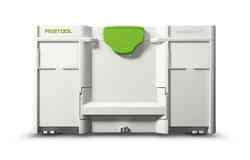
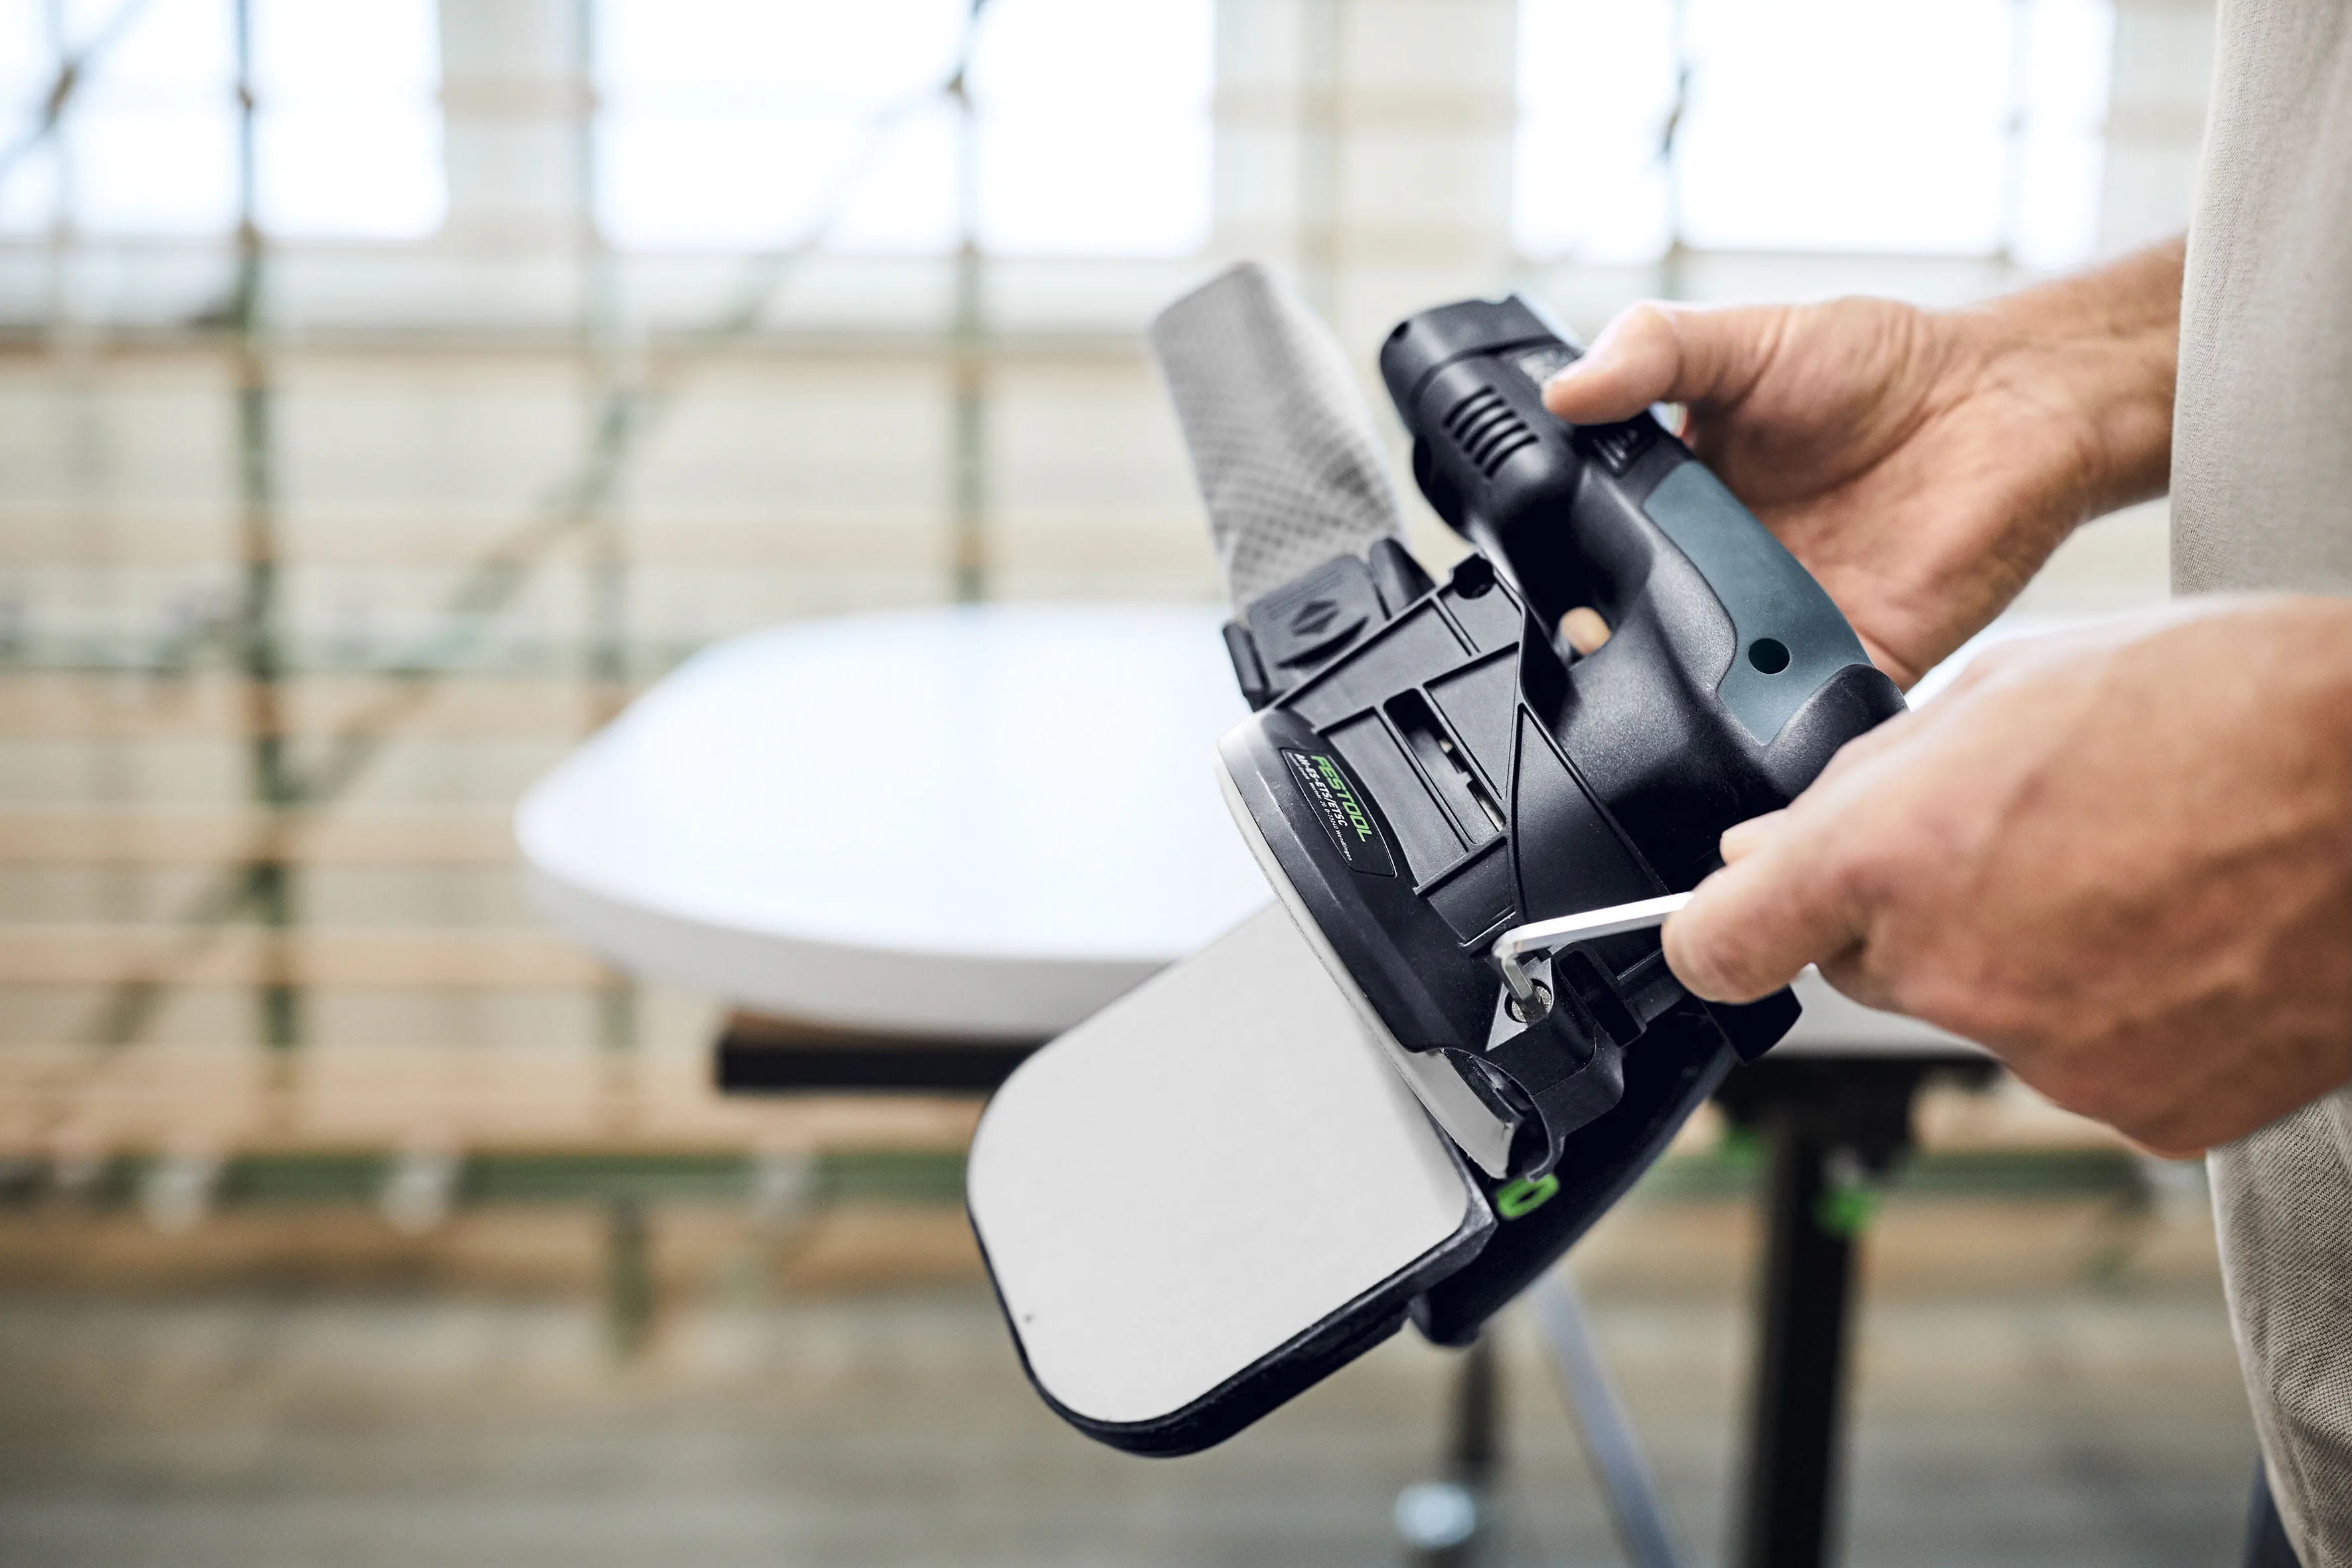
Festool also offers the option of converting an existing sander – such as the ETS 125 REQ eccentric sander or the ETSC 125 Li cordless compact sander – into an edge sander using the AH-ES-ETS/ETSC positioning aid. It's quick and easy; insert the housing shell into the protector groove on the sander and, at the same time, place the counterpart of the housing shell on the other side into the protector groove. Then simply connect both housing shells with the two enclosed screws using a hex key. The edge sander will then be ready. All that's left to do is a one-time calibration of the angle display. Festool recommends the edge sander in the set version in Systainer³ with corresponding insert, so the edge sander is always to hand and ready to use – without constantly having to fit and remove the positioning aid.
Flexibility of the edge sander
The edge sander is available in the form of the ES-ETSC 125 Li 3.1 combined package with the ETSC 125 Li 3.1 cordless compact sander and the AH-ES-ETS/ETSC positioning aid in the Systainer³ or in the form of the ES-ETS 125 REQ combined package with the ETS 125 REQ mains-powered version with the AH-ES-ETS/ETSC positioning aid, also in the Systainer³. For customers who already own an ETS 125: No matter whether it is the ETS 125 REQ mains-powered version (from model year 2017) or the ETSC 125 Li 3.1 cordless eccentric sander, you can transform your sander into an edge sander with the AH-ES-ETS/ETSC positioning aid. What's more, the SYS-PowerStation features a power source – in case no power is available.
You can find more information at festool.co.uk/knowledge/refurbishing-furniture
and on the Youtube channel Festool Quick Guides
Image Source: Festool GmbH


