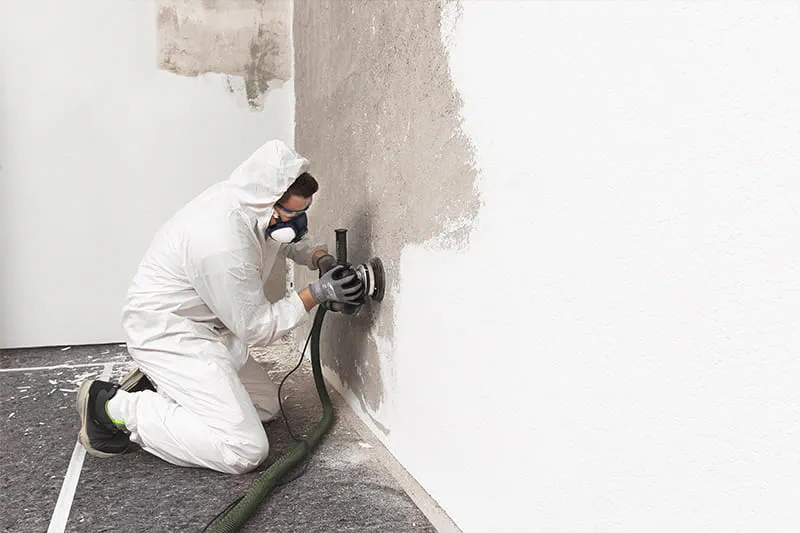


Working with clay and lime plaster
Something to keep in mind – the proper application of clay and lime
CLAY AND LIME PLASTERS


Clay plaster
Benefits
- Easy to work with and can be applied to virtually any surface.
-Green construction material, 100% recyclable.. -Permeable and able to store heat.
- Allergy neutral and blocks electromagnetic radiation.
- Absorbs harmful substances and odours.
- Noise-insulating and fire-resistant.
- Low material costs (approx. EUR 3–10 per square metre).
Disadvantages
- Softer and therefore more sensitive surface.
- Sensitive to direct or sustained exposure to moisture.
- Less suitable on outer walls or in wet rooms.

Lime plaster
Benefits
- Permeable and able to store heat.
- High pH (alkalinity) prevents formation of mould and kills germs.
- Effective protection against pests.
- Absorbs harmful substances and odours.
- Noise-insulating and fire-resistant.
- Wider range of colour than with clay plaster.
Disadvantages
- Slower to process.
- Climate control effect only works with plasters at least 15 mm thick.
- Relatively high material costs (approx. EUR 20–50 per square metre).
Finish

Clay plaster
Preparing the surface
The surface should be solid and free from dust, oil and grease.
Slightly moisten absorbent surfaces before applying the plaster.
Stabilise transitions between different surface materials with plaster bases or reinforcement fabric.
Applying the plaster
One layer of clay plaster is suitable for level surfaces with good porosity, such as brick or clay blocks.
Where two layers of clay plaster are applied, the first layer is put on roughly and the second layer is applied on top after 12 hours.
Depending on the desired surface quality, different material qualities and grit sizes can be used for the float coat (coarse) and final coat (fine).
- Process at an air and brick temperature of at least 5°C.
Painting the plaster
- When painting clay-plastered walls, keep in mind that the clay wall will remain porous.
- The most commonly used coating materials are clay paint, lime casein paint and mineral paint (e.g. silicate paint).
Lime plaster is composed of three basic ingredients:
Preparing the surface
- The surface should be solid and free from dust, oil and grease.
- Pre-wet surfaces well based on their ability to absorb water.
- There must be no water on the surface prior to the plaster being applied.
- Stabilise transitions between different surface materials with plaster bases or reinforcement fabric.
Applying the plaster
- Lime plaster is usually applied in two layers.
- Each layer must be kept sufficiently wet during application.
- The plaster thickness should be 10–20 mm for the float coat.
- The plaster thickness should be 3–5 mm for the final coat.
- Rule of thumb for drying time: one day per millimetre of layer thickness.
Painting the plaster
- It is best to use lime paint or limewash on lime plaster.
- Avoid using the often recommended sealing primer before applying the paint.
- Multiple coats are required for good coverage.
- In heavy-use areas, treat the paintwork with olive oil soap so that it will be washable.
Clay plaster mainly comprises sand, mud and clay, while lime plaster in its natural form comprises sand and lime or limestone.
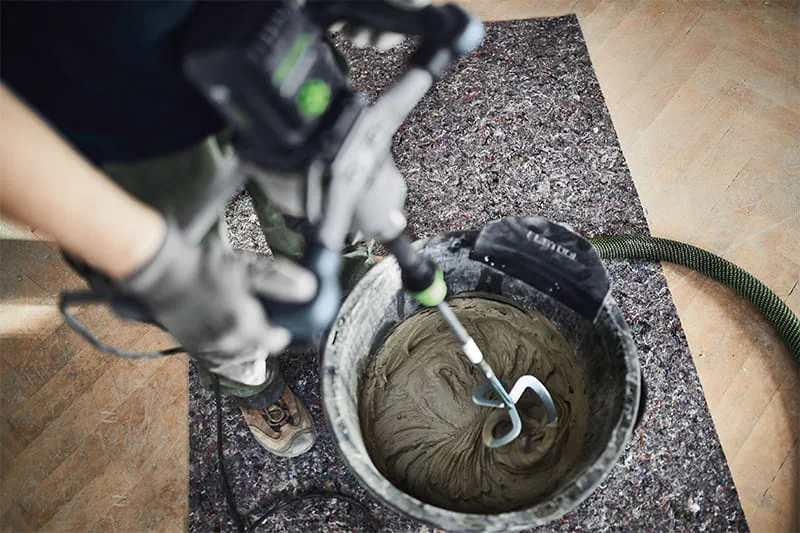
Plaster and paint must be stirred properly in order for the components to blend in the right way. Ideally using a powerful stirrer. But few are aware: having the right mixer container is also crucial. The mixture is stirred to the right or the left and the mass is mixed up or down.
Clay plaster mainly comprises sand, mud and clay. Lime plaster in its natural form comprises sand and lime or limestone. The plasters are mixed with water. The amounts and mixing ratio in both cases depend on how the mixture will be used.

Clay plaster
Clay plaster is available in powder form as bagged goods, and more rarely in moist bundles.
formula
Clay float coat
- 2 parts clay powder
- 4 parts sand (0–2 mm)
- 1 part straw chaff
- Water as needed for clay final coat
- 2 parts clay powder
- 5–6 parts sand (0–2 mm)
- 0–1 part straw chaff
- Water as needed
Clay wash
- 1 part clay powder
- 2 parts sand (0–1 mm)
- Water as needed
Mixing process
1. Pour water into a bucket.
2. While the stirrer is running, add clay filler and stir carefully.
3. Leave the mixture to soak for approx. 20 minutes.
4. Stir the mixture again before processing.
Lime plaster is composed of three basic ingredients:
hydrated lime, sand and water. The lime part of the mixture is available in the form of a powder (hydrated lime) as bagged goods or in the form of slaked lime.
formula
Lime float coat
- 1 part lime
- 3–4 parts sand
- Water as needed
Lime final coat
- 1 part lime
- 4–5 parts sand
- Water as needed
Limewash
- 1 part lime
- 3–5 parts water
Mixing process
1. Pour water into a bucket.
2. While the stirrer is running, add lime filler and stir carefully.
3. Leave the mixture to soak for approx. 5 minutes.
4. Then stir the mixture again and process it quickly.