Sanding with the Festool ETS EC 125 or 150 eccentric sander

Proper door refurbishment

Explained in just a few steps

The ETS EC 150 eccentric sander and LS 130 DUPLEX linear sander create the optimal surface for a new coat of paint or the restoration of old doors. Together with the CT MIDI compact dust extractor, they form a clean trio. We’ve compiled step-by-step information on what you need to take note of and from which tools and motions you can get the best results.
Some objects can be reused but still quickly end up being thrown out. It's a familiar and sorry sight for those who notice such things as an old door with a finely made frame in the rubbish pile, for example. And anyone who then sees that all this door actually needs is a little expert care in order to be restored to its former glory will be quick to take it out of the rubbish pile and back home to the workshop.

Smooth and careful sanding

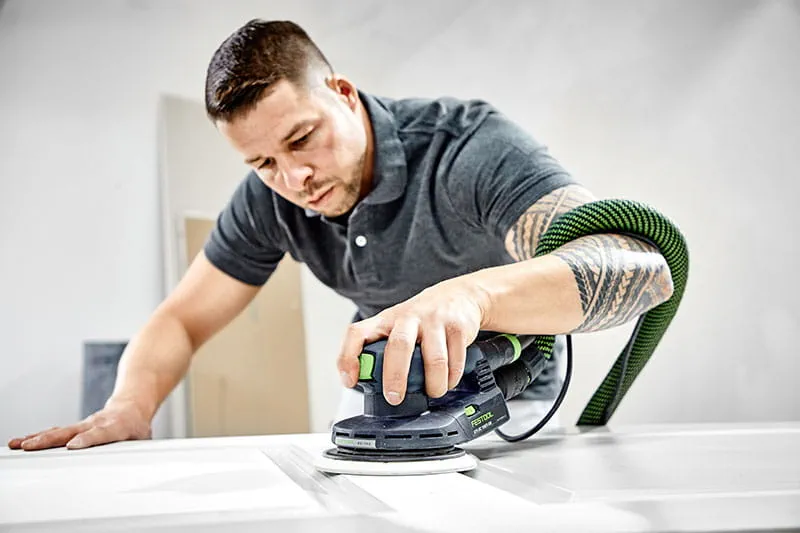
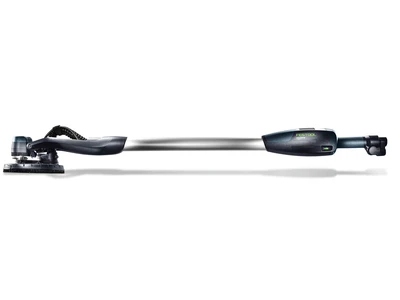
This becomes clear when you start refurbishing the door. With the Festool ETS EC 150 eccentric sander, light sanding of existing coats of paint is a smooth and reliable process. With the right speed, loose pieces are removed without too much pressure and intact surfaces are roughened.

In the first step, the surface of the door is therefore lightly sanded with the ETS EC 125 or 150 eccentric sander. We recommend that you use abrasives with a grit from P150/P180 for water-based paint and a grit from P150 for alkyd resin paint.

Sanding off with the Festool ETS EC 150 eccentric sander

Greater efficiency thanks to adaptability

For doors with cases or door leaves with recessed panels, you just can’t do without the LS 130 DUPLEX linear sander. It eliminates the need for tedious manual work in grooves and on profiles. The linear sanding movement of the LS 130 makes sanding by hand extremely comfortable and produces the perfect result considerably faster and with far less effort. And it can handle even the most complicated of profiles. This is where the sanding pads from Festool come into play. A little addition further highlights the quality of the LS 130: The clever DIY construction kit makes it possible to create individual sanding pads for any profile.

This is also reflected in the next steps for refurbishment:

Sanding with the Festool LS 130 linear sander

Step 2

Lightly sand profiles and recessed panels with the LS 130 linear sander; the linear sanding motion avoids deflections to the side.

Step 3

Create an individual sanding pad with the DIY construction kit for all joint and profile shapes: See video. Sanding with the individual sanding pad is efficient and makes the job much easier.
Machining doors with Festool tools

Step 4

If necessary, resand hard-to-reach areas on profile grooves and transitions using the extremely adaptable abrasive sponge.
Machining doors with Festool tools

Step 5

After stripping the old paint, smooth out uneven and damaged areas and fill small holes.
Dust extraction with the Festool CT MIDI mobile dust extractor

Step 6

Of course, when material is removed, dust extraction is a must. Thoroughly remove dust from the sanded surfaces using an anti-dust and tack cloth for painters or, if necessary, with the powerful CT MIDI mobile dust extractor, a hand tube and suction brush.
Machining doors with Festool tools

Step 7

Apply primer to the surfaces using a roller and to the profiles using a brush and then let it dry thoroughly (observe drying time specified by the manufacturer).
Machining doors with the Festool ETS EC 150 eccentric sander

Step 8

Carry out intermediate sanding using the ETS EC and an abrasive with grit P240–P500; reduce the speed to avoid sanding through or heating up the primed surface.
Machining doors with Festool tools

Step 9

If necessary, resand hard-to-reach areas on profile grooves and transitions again using a manual abrasive.
Machining doors with Festool tools

Step 10

Place the door in an upright position and use wooden blocks or spacers to prevent it from touching the floor and wall if possible.
Machining doors with Festool tools

Step 11

Before painting, it's important to wipe down the entire door once again using a microfibre cloth or tack cloth in order to achieve a perfect finish.

Step 12

Apply a final coat using a brush (profiles) and roller (surfaces); multiple coats may be necessary.
Machining doors with Festool tools

Maximum variety and care

Thanks to the plug-it system, switching cables from one machine to the other happens directly on the tool and not at the power socket. The suction hose is simply switched over. These may only seem like trivial things when the primary focus is on achieving a good sanding result. Yet it's precisely these small details that make the door trio more than just a sum of its parts. Once its surface has been successfully prepared in this manner, the door will soon be repainted with a semi-matt or high-gloss finish as desired.
Machining doors with Festool tools