


A perfect surface in seven steps
Festool trainer Dino Frey shows how to achieve perfect surfaces in just a few steps.
Perfect surfaces make for pleasurable working and satisfied customers. That is why Festool trainer Dino Frey shows how to achieve perfect surfaces in just a few steps. All it takes is five things: The MX 1200/2 stirrer, suitable filler material, the corresponding stirrer basket, the PLANEX LHS 225 long-reach sander and the matching mobile dust extractor. That's it!

Dino Frey
Festool trainer
Dino Frey is a Festool trainer and master painter by trade.
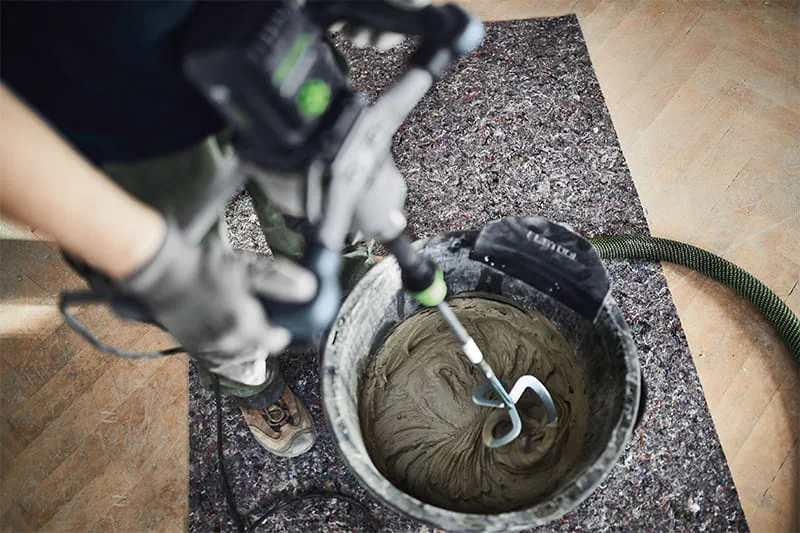
Step 1: Stirring the material
The selected material is stirred with the MX 1200/2 stirrer. This tool is a true all-rounder and particularly suitable for stirring both heavy and lightweight materials. The two-gear transmission makes it possible to adjust the speed to the material composition – so the stirring process always matches the material. Users should take particular care to use a stirring basket suitable for the material. The HS2 spiral stirrer is recommended for fillers. An essential distinction is made between the powder-based filler (bagged goods) and ready-made filler compounds (bucket goods). There are gypsum-bonded and plastic-based fillers – and two rules of thumb: The greater the gypsum content, the softer the filler. And: Gypsum-bonded fillers harden by setting. In plastic-based fillers, this occurs through drying and takes considerably longer.


Step 2: Applying the material
After stirring, the material is applied to the relevant surface. Depending on the required surface quality (Q1 to Q4), the material is applied once or twice. Our diagram gives a detailed overview of the different surface qualities. Once applied, users need to observe the drying time specified by the material manufacturer.

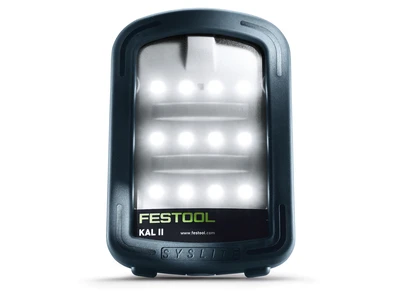
Step 3: Inspecting the surface
The surfaces are now inspected with the STL 450 surface control light. Uneven areas are quick and easy to identify with the surface control light. That makes the subsequent sanding process much easier. Dino's tip: Mount the surface control light on a tripod, as this will allow you to correct imperfections even more easily.

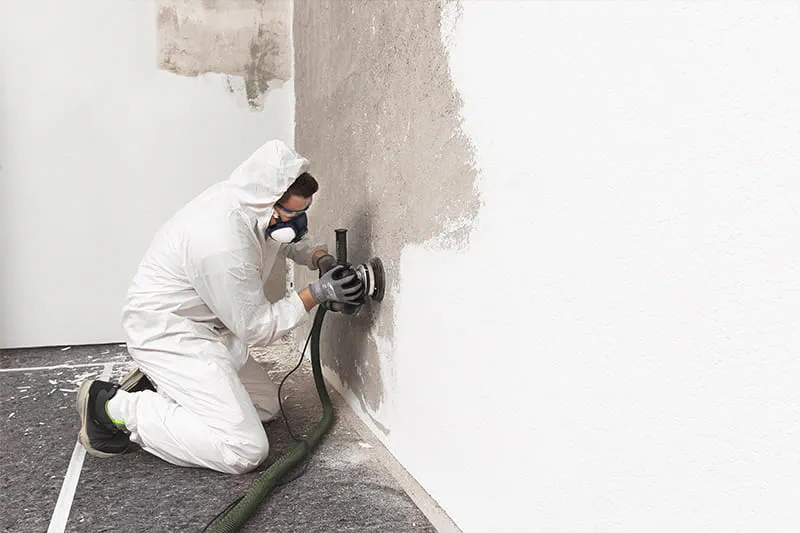
Step 4: Preparing the mobile dust extractor and long-reach sander
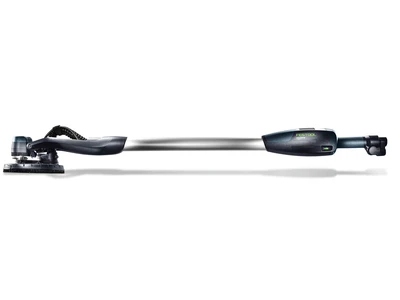
First, the PLANEX LHS 225 long-reach sander and the mobile dust extractor are prepared. Take particular care to ensure that the AUTOCLEAN function (AC) is activated on the mobile dust extractor, so that the extraction filter cannot become clogged with dust and the suction power remains constant. The PLANEX LHS 225 long-reach sander is perfect for full-surface and level sanding of large and small surfaces thanks to its adjustable extraction power. Speaking of sanding: The GRANAT abrasive is ideal for coarse and fine sanding of smooth Q4 surfaces. Before starting work, the extraction power should be adjusted to the user and the hose diameter.
Step 5: Selecting the right abrasive
When it comes to selecting the abrasive paper, there is a simple rule: The softer the filler to be sanded is, the finer the abrasive paper grit should be. GRANAT NET and GRANAT SOFT are ideal for most surfaces.

"Perfect surfaces don't just happen. Good preparation is an absolute must."
Dino Frey, Trainer and Application Specialist at Festool
Step 6: Internal or external extraction?
One last question before we start: Should the Planex be set to internal or external extraction? For ready-made fillers that produce large quantities of dust (ready-made dispersion-based fillers), the answer is clear: Due to the large volumes of dust that are generated, we recommend working with external extraction. Then you can evenly sand off the surface with the Planex.

Step 7: Final inspection
The moment of truth: The final inspection of the sanded surface. If you're still finding scratches, you'll need to fill those in and resand the surface. Then you can finish off the wall to your liking, for example with wallpaper or a coat of paint.